Sunday, November 25, 2007

INTERIOR DETAILS OF THE VW BUS

I did the dash with added details like knobs and the dash bar done with stretched sprue. I also opened the ashtray and threw in some butts. You can notice as well the seat cover that was done with the fabric from an old pair of cotton shorts. It was simply glued on the seat using white glue after cutting it to shape. Nothing is glued in yet in the interior of the model and I also have to do some more interior details.


CLEAR COATS, DECALS AND DETAIL WASH ON THE BUS

Shot the bus with Krylon clear gloss to install the decals and do a wash for the scribbed lines. I then gave it a clear matt coat (Krylon again) 24 hours later. This was not done without some amount of stress. Last time I used Krylon clear was on a Tamiya Porsche 911 GT2 full of decals and the entire thing went orange peel on me! This time I used the "craft" Krylon clear rattle cans and besides being worried after the last matt clear coat looked kinda white, it all dried up real nice. As you can see in the last image of the hub caps, I use artist oils to do my wash. They have the finest pigments and it really brings up the details.


After applying the matt clear coat.

Hub cap on the far right is without the wash detailing

Monday, November 19, 2007

UPDATE ON THE BODY WORK AND PAINT OF THE BUS


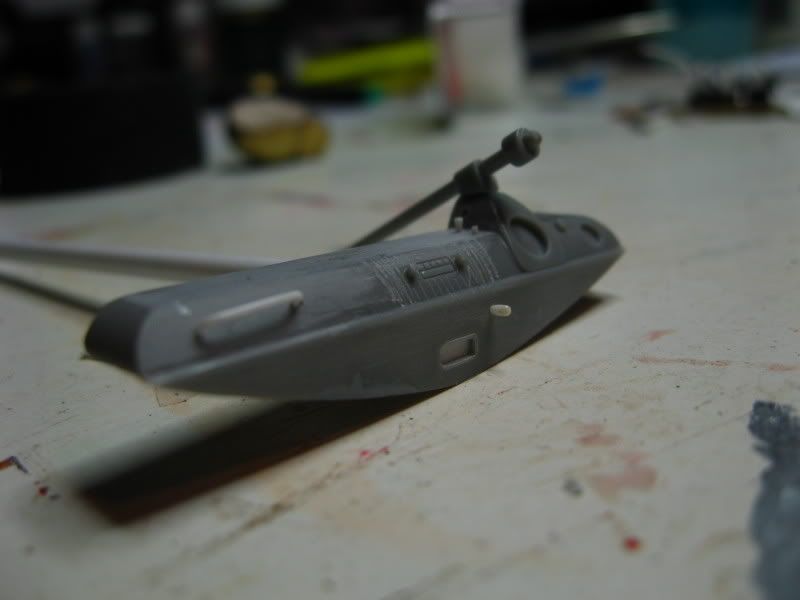
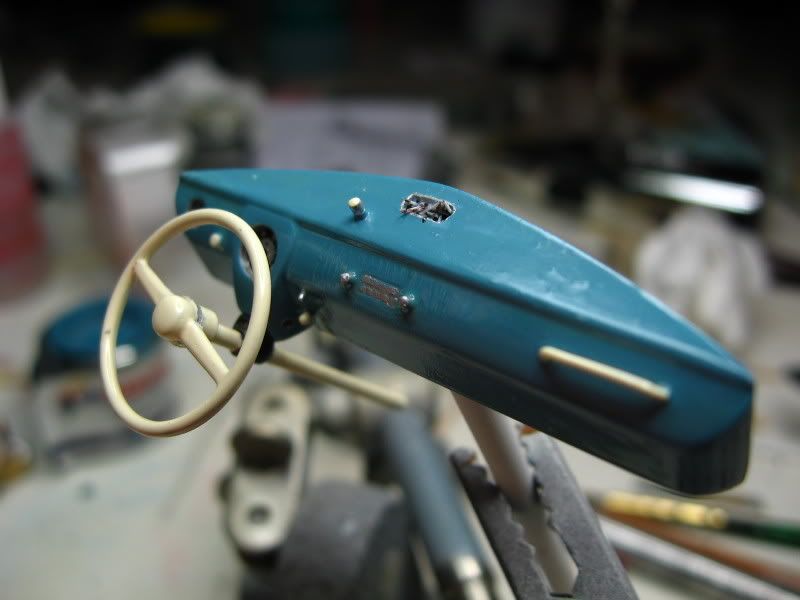
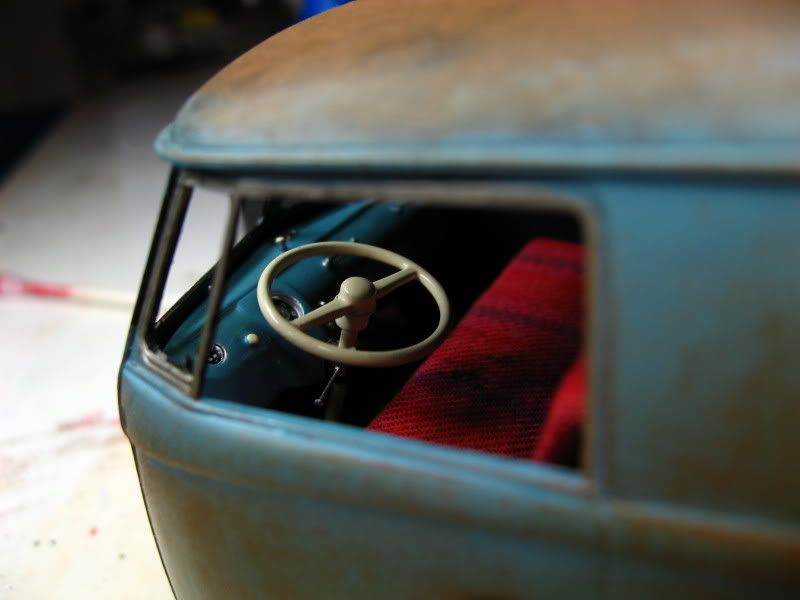
I shot the bus with Tamiya semi gloss black for the primer. I then dry brushed Humbrol rust color all over. I then brushed in a baby blue flat paint, which I wet sanded after it was dry. I again did some dry brushing with Humbrol rust paint over the blue. Dry brushing is going over your model with a brush that is wiped almost dry of paint. It takes a long time, but the results are pretty cool. I am not done yet. There are still at least 3 more paint coats before the finish is done.

Gerry